This DIY photo wall is an easy and inexpensive way to personalize a blank wall AND display photos that would otherwise just sit in your camera roll. It’s only four steps, and it does not require any framing or nailing. This makes it perfect for college dorm rooms or rented apartments where you may be limited in what you can do to the walls. Keep reading to see how to make it!
What you need
- printed photos ( I used 50 4×4 inch prints)
- double-sided wall tape
- scratch paper or brown paper bag
- ruler (for precise measuring)
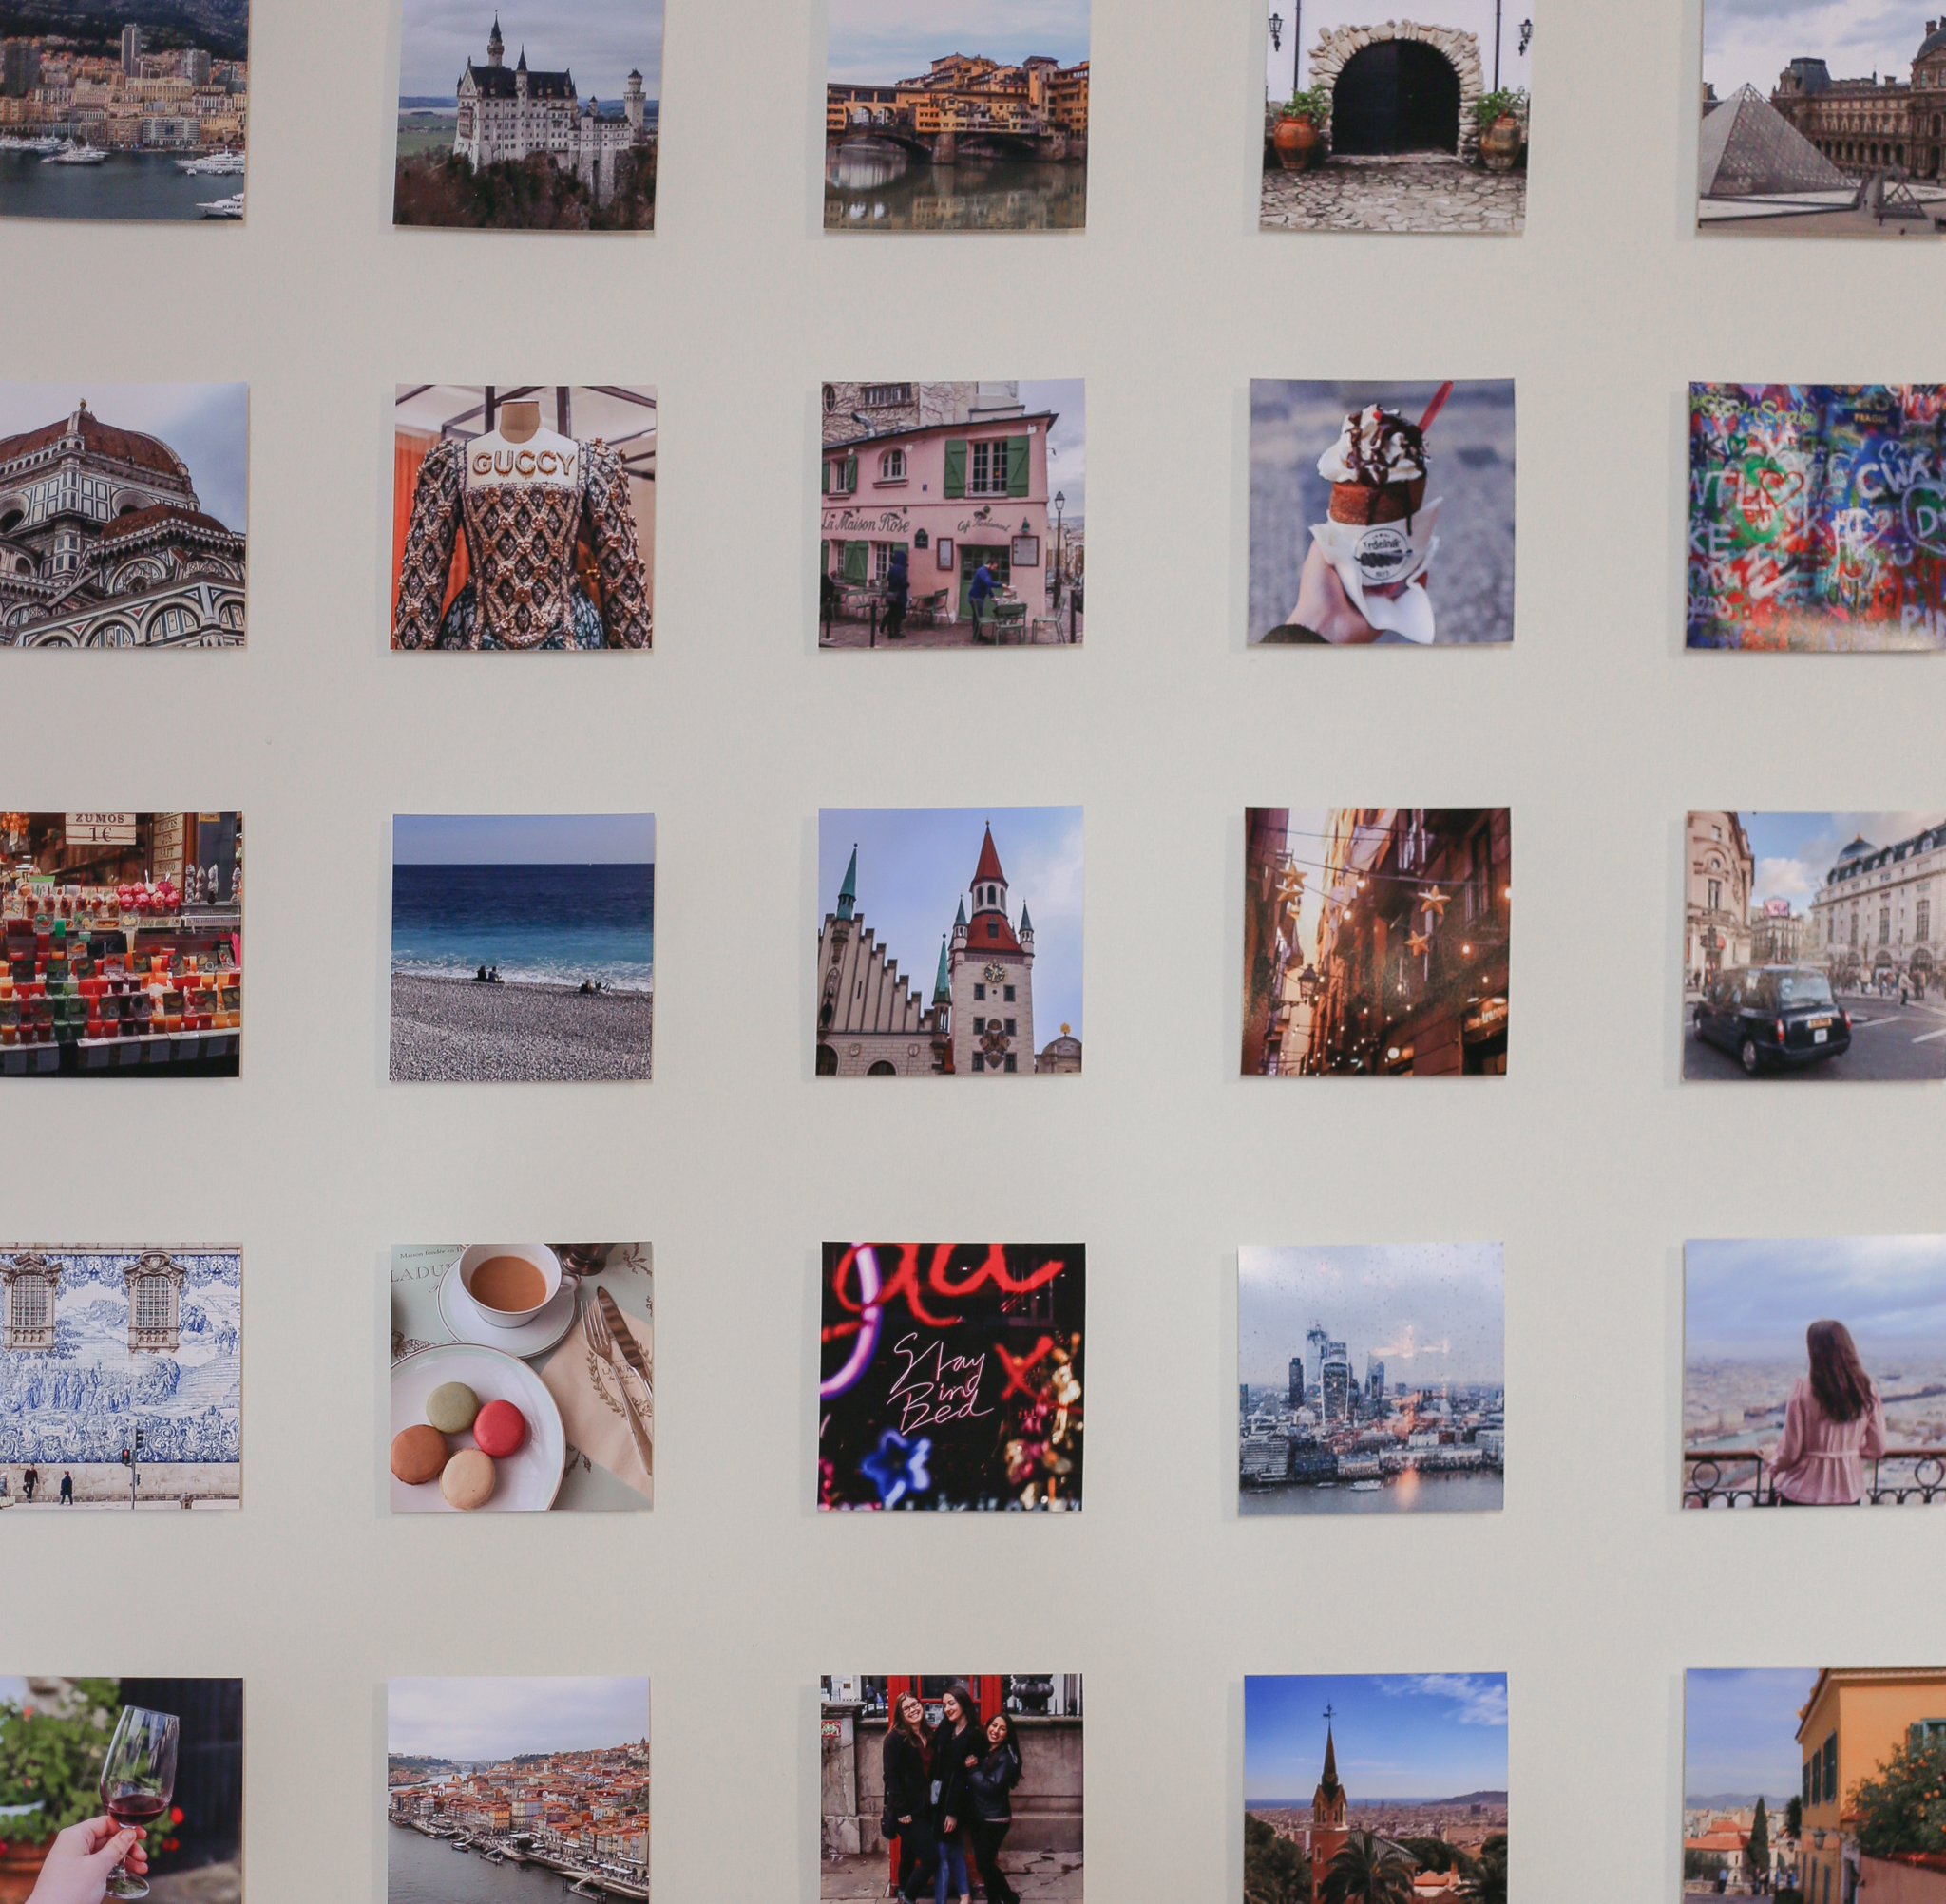
1. Select and print photos
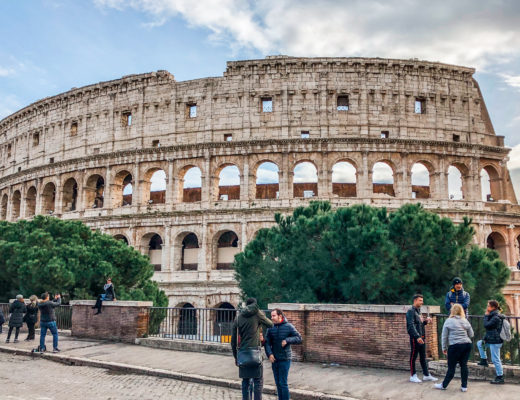
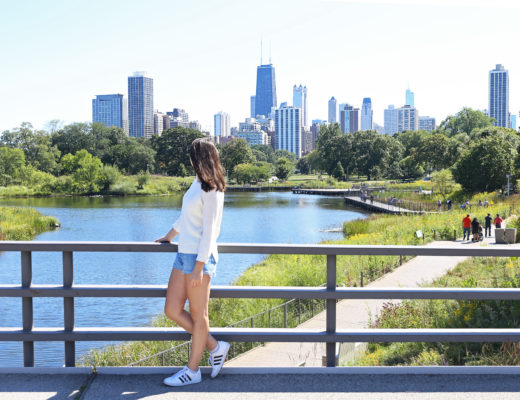
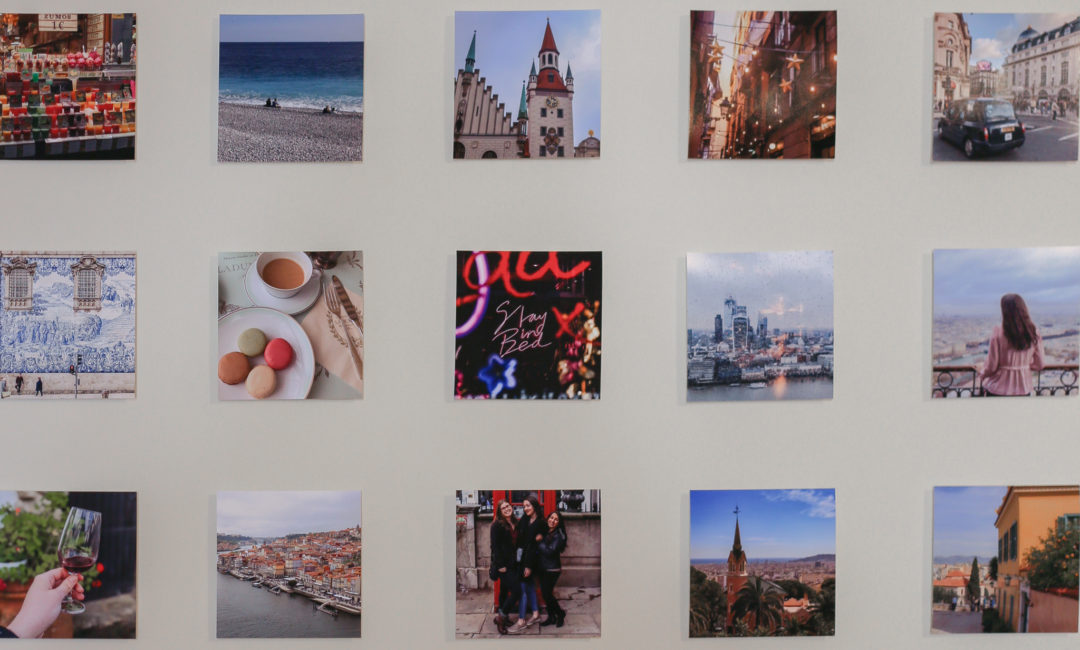
Go through your photos or find photos you like online and print them. I used 50 4×4 inch square photos that I ordered and picked up using Walmart’s online photo center for $12.50, however, you can use whatever size and however many photos you need to fill your wall! Here is a close-up of some of the pictures I printed. They’re all photos I took while studying abroad in Europe.

2. Cut templates to guide photo placement
Fold your scratch paper or paper bag multiple times and cut to the exact size of your photos. If you printed 50 photos like I did, you will need 14 templates. You’ll see why in the next step.
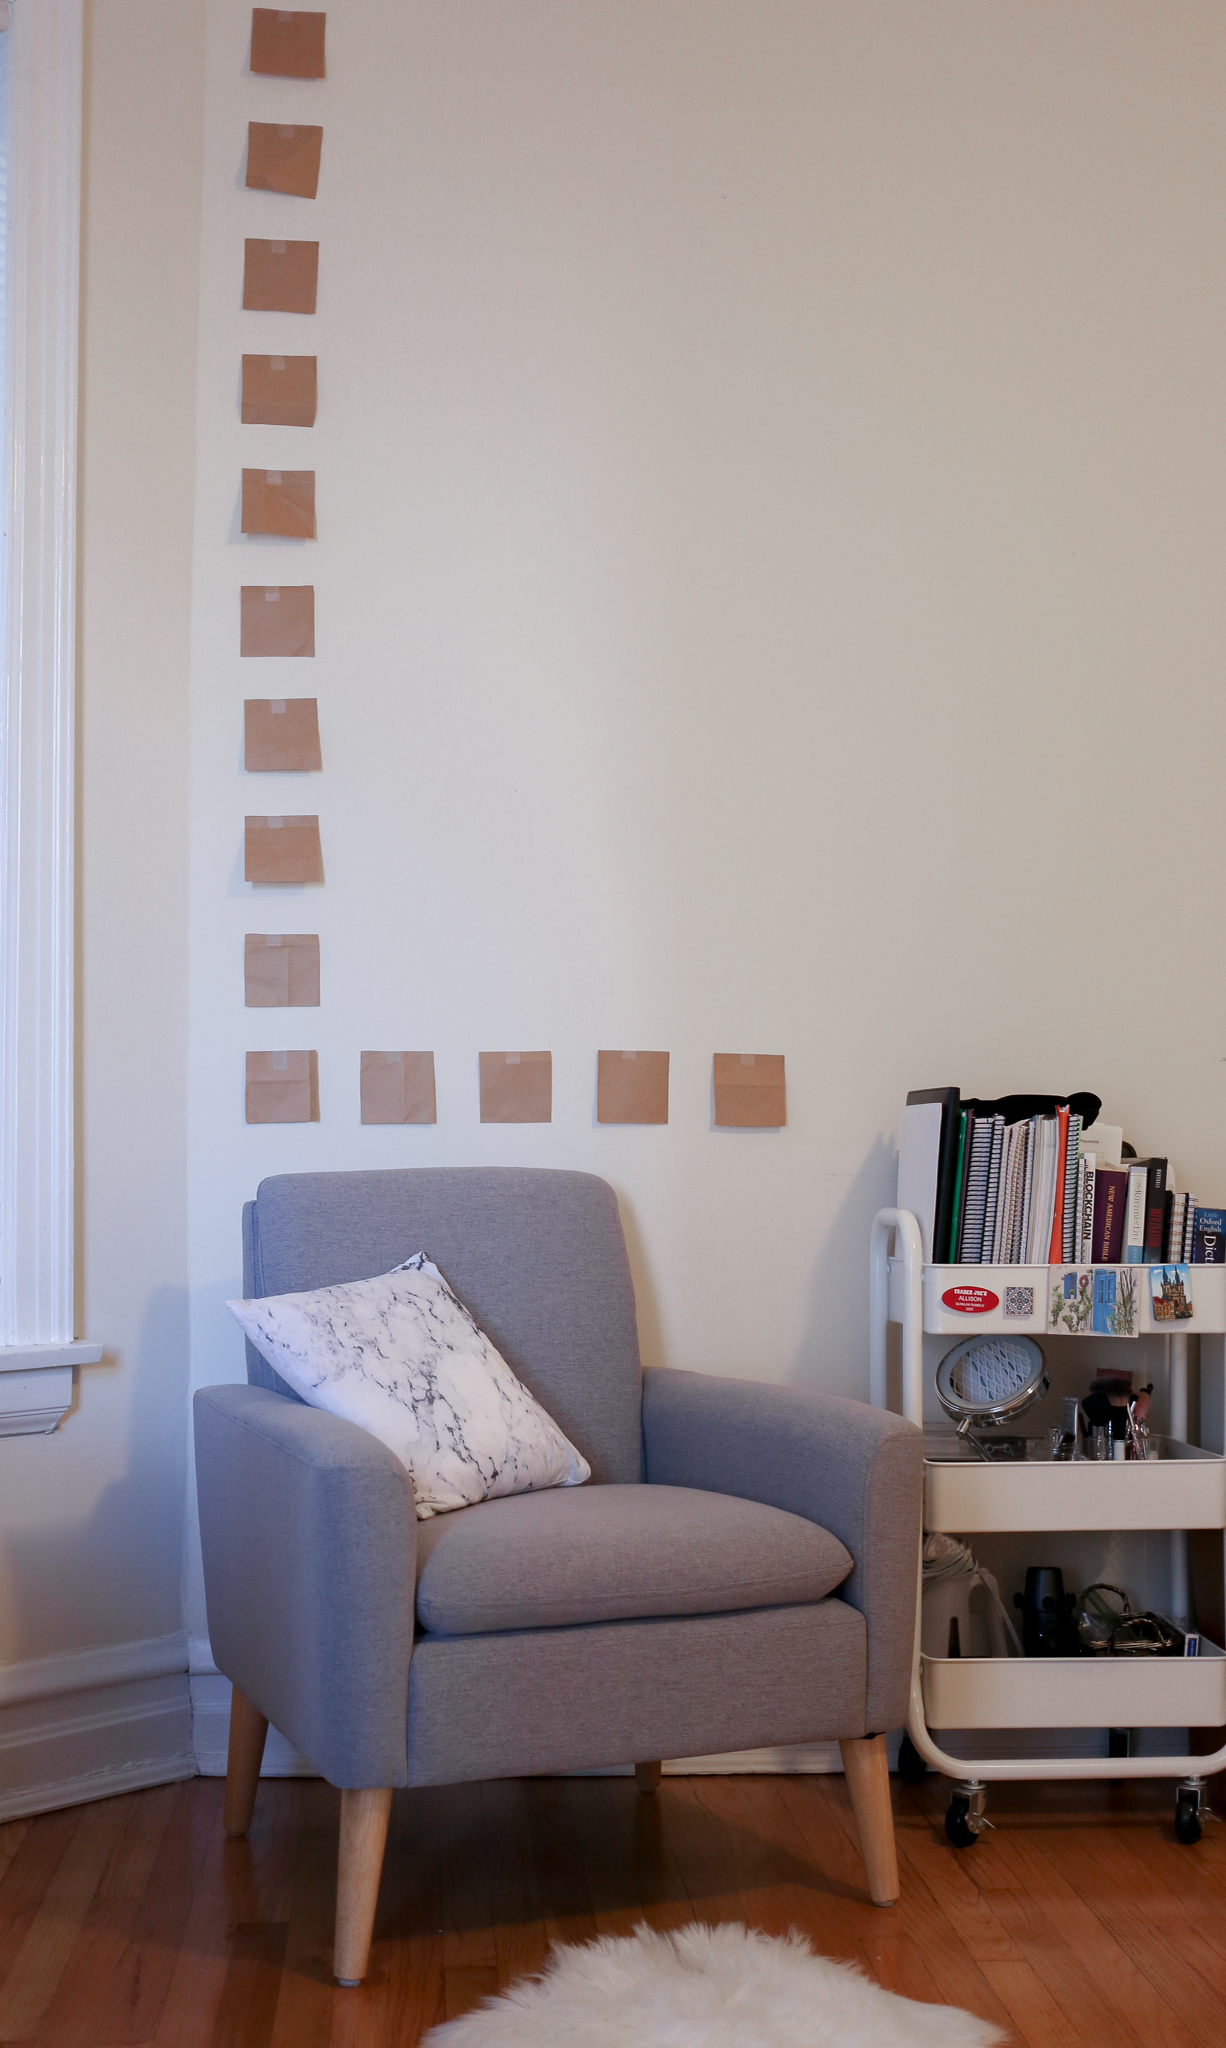
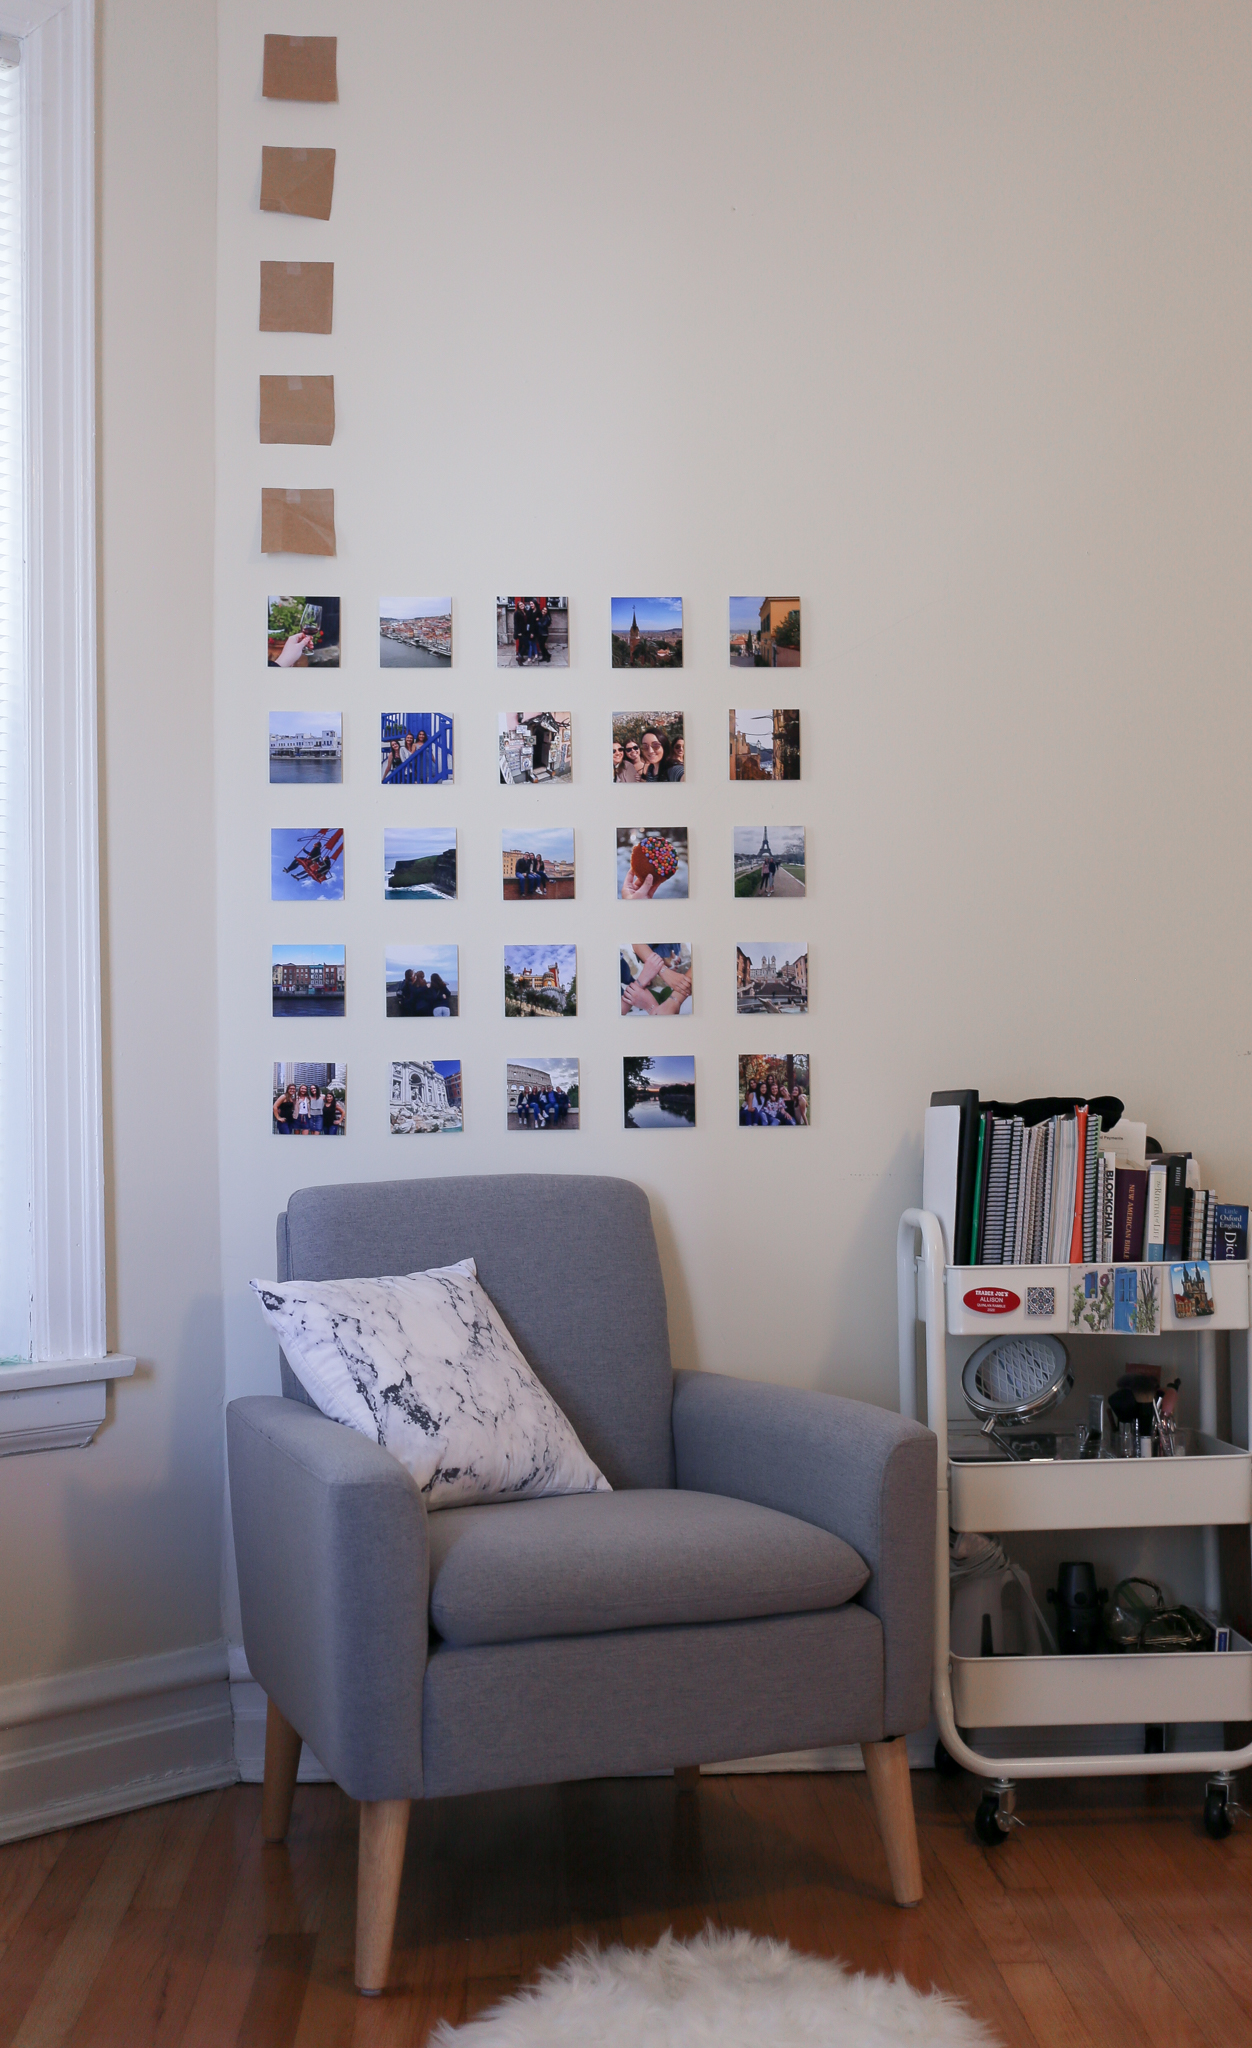
3. Measure and tape templates to the wall in an “L” shape
Reference the picture below to see what it should look like when finished. It’s up to you how far apart you want to place your photos, and it will depend on how much wall space you have to work with. Just make sure the spacing is consistent going both up and across!
4. Tape photos using the templates as a guide
Begin securing photos to the wall using the double-sided wall tape. Use the vertical and horizontal placement of the templates to help guide where each photo should be placed. By measuring the spacing of the templates upfront, you should just be able to eyeball the correct location without having to measure between every single photo. This is a huge time-saver!
When it’s all finished…
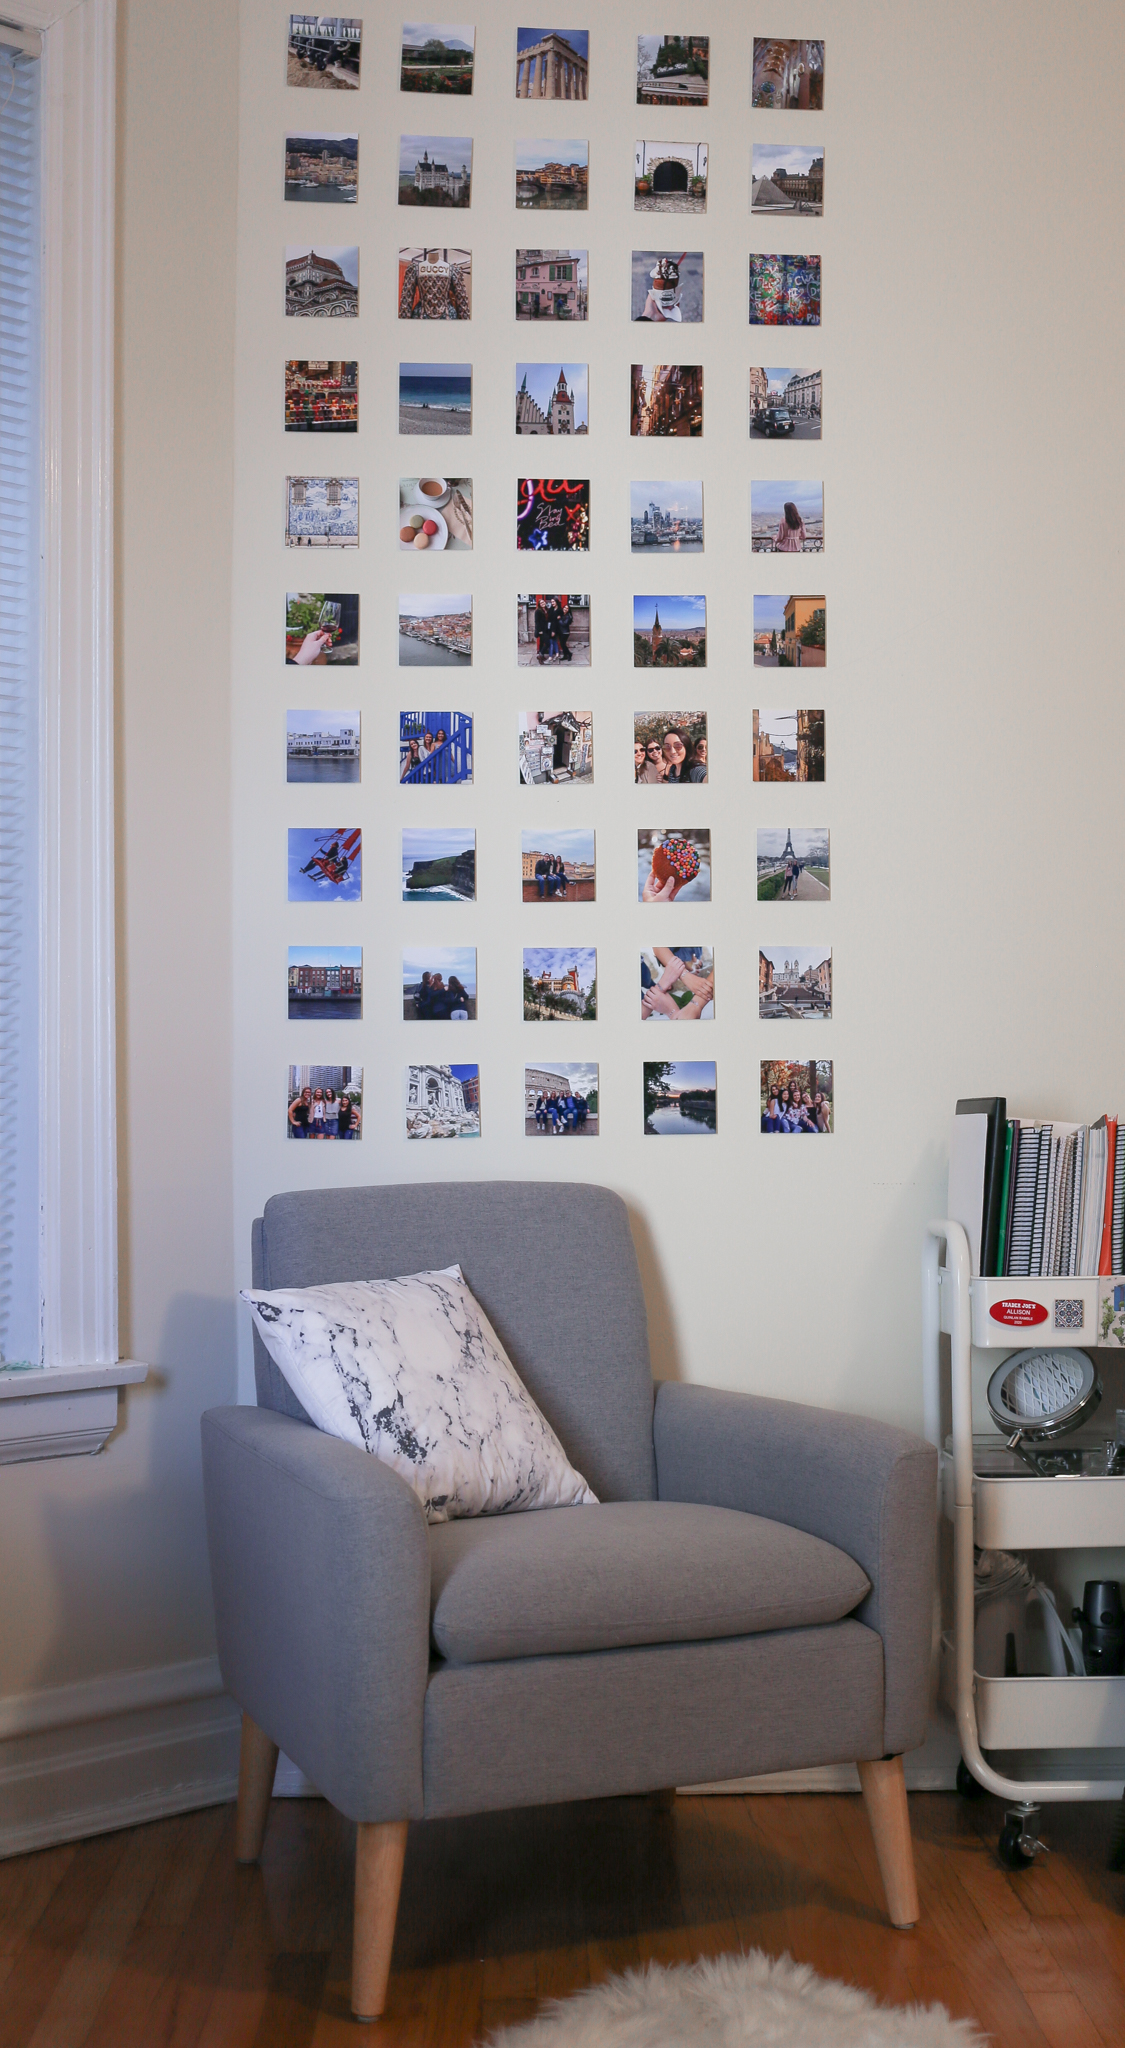
That’s all there is to it! Check out these posts for more decor tips and inspiration!